It´s summer time and only a couple of months before the next Golden Demon competition. The last months my focus was primary on sculpting. When I did some painting it was focused on painting the castings of my greens. I also ran a small buisness selling castings of my own designs. That all keeps me very busy. My shelve of shame grows and the updates for my website got more and more delays. But as the date for the Games Day 2004 came nearer my competitive side awoke. I wanted to defend my title as a good painter. I would not be one of these guys wining a Golde Demon trophy and disappear afterwards. I would not be a one hit wonder. I would show that I climbed that stage to stay!
 |
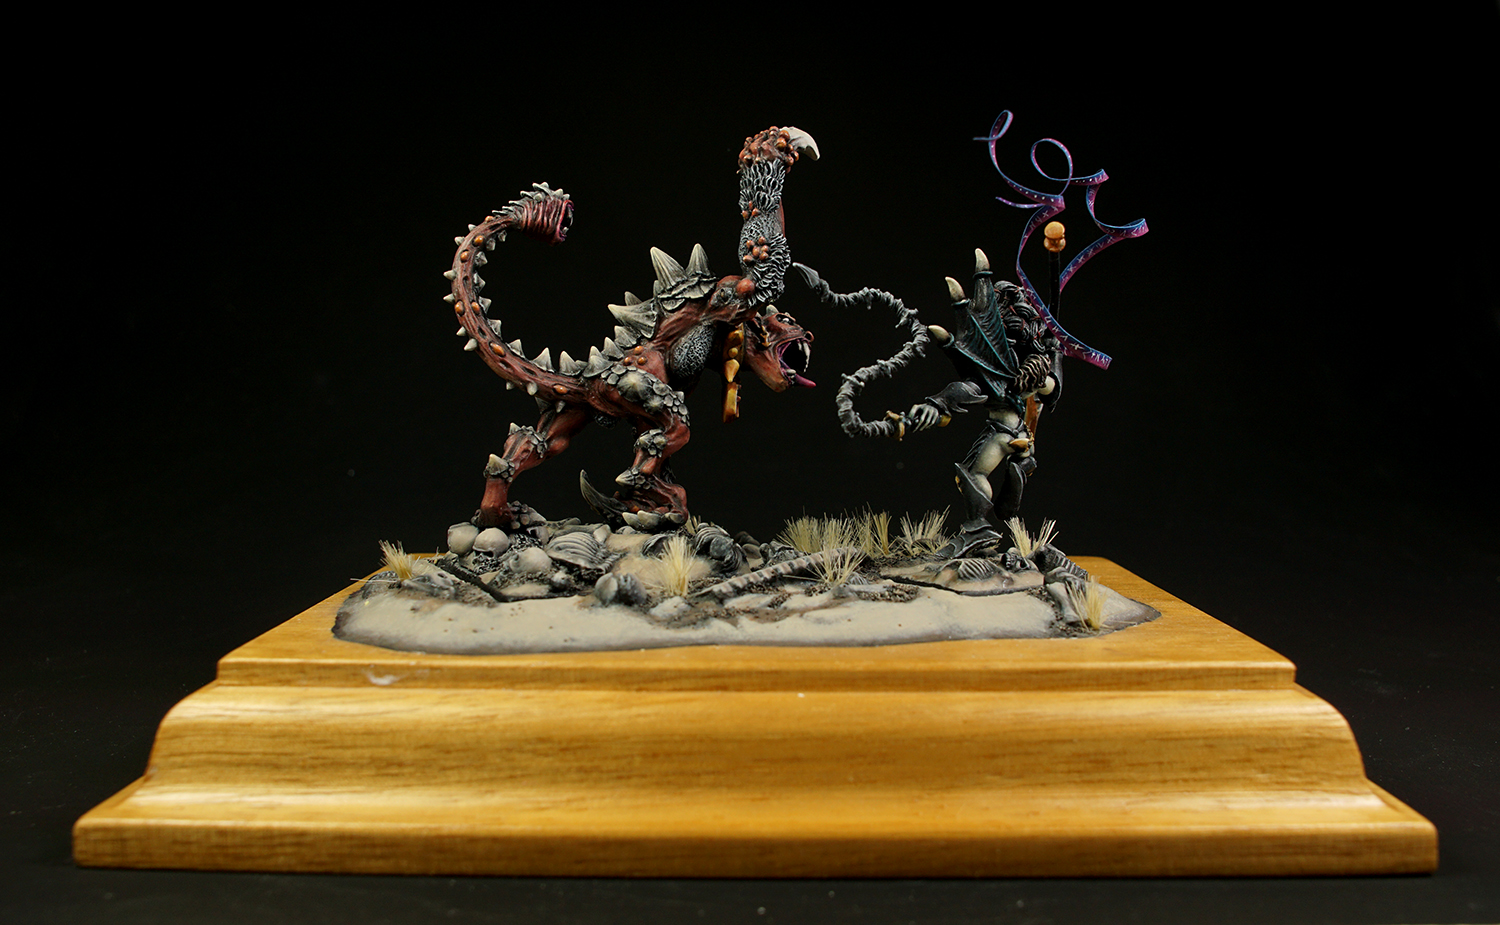
| Duell - Beastmaster fighting Scyla Anfingrimm |
It was time to throw all my new skills into the next round. My heart still beat for the new Dark Elves range sculpted by Chris Firtzpatrick. More precisely it beat for everything sculpted by Chris Firtzpatrick. With the 6th Edition - Storm of Chaos campaign the Dark Elves got a new armylist containing Slaanesh Elements. It was a great chance to extend my Dark Evels by a further army which fascineted me. I had already a couple of Chaos miniatures I liked and now it was the chance to include them into my growing army or to use them as opponents. From this mixture of models on my workbench the idea of a beastmaster character fighting against Scyla Anfingrimm was born.
 |
| Creative Chaos on my Workbench |
Normally, it is hard to remember all the details how these project were done nearly 20 years ago. But, during these time I was already writing articles for my website and was also invited to write for the Druchii.net monthly e-zine. There most of the information were conserved. Read this ancient article here with some minor revision and language editing.
From Druchii-net monthly Nov. 04
The beastmasters of Karond Kar control the most vicious monsters to be found in the Warhammer world. No beast can escape their cruel teachings, even the strongest willed monster will break under their barbed whips. The bound monsters are then unleashed against the enemies of the Dark Elves. Only the strongest beast handlers survive long enough in their dangerous profession to rise to the rank of beastmaster. The most infamous one is without a doubt the beast lord Rakarth of Karond Kar, riding his black dragon Bracchus. Rakarth also broke Seraphon, the mount of the Witch King himself.
Many worthy beastmasters have risen within the walls of Karond Kar. The greatest among them master the wild manticores, either to ride them to battle themselves or to sell them to high-bidding highborns. They also raise the black pegasi favoured by the convents of sorcery, and the great war hydras are cornerstones of the raiding and siege forces of the black arks. Beastmasters are dangerous by themselves, but that threat is multiplied if their “pets”, which fight to the Death for their Druchii
masters, accompany them.
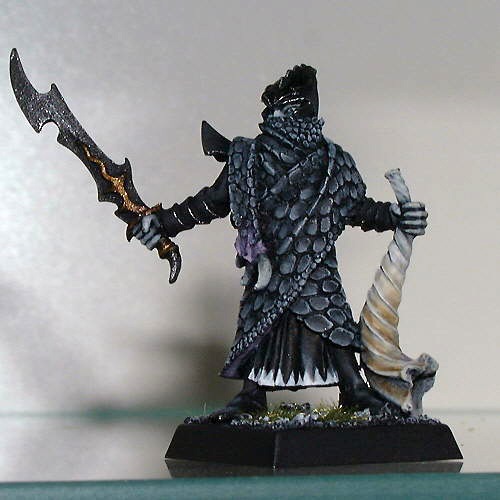
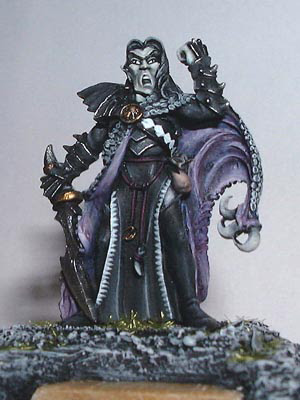
The first beastmaster I would like to present is a conversion of a 40k Dark Eldar beastmaster, whom I converted for the Diorama category for the German Golden Demon 2004. I liked the 40k beastmaster ever since his release. The miniature was my long-time favourite cast of my great role model Chris Fitzpatrick. The hair, for example, has been adopted for the witch elf range. Therefore, the model already fits the new Dark Elf range well, but I needed to get rid of some of the technological elements and the overall impression had to become more emblematic of the Dark Elves. To fit into the much newer range of Dark Elves, a few conversions were necessary.
Conversion

 After I repaired all the damage done by cutting off the non-fitting parts, I started to remodel the armour to make it more Druchii-like. The cold one knights, from which I took the boots and spikes on the vambraces, inspired me strongly.The Idea for the thigh braces I got from Lilith Hesperax, whom I converted already for the Golden Daemon 2003. With regards to this piece of armour I converted the torso and arm pieces as well. The added skulls on the leg bracers came very late, as the rest was already finished. Once again the cold one knights were parents to this idea. Finally, I bolted the whip and modelled the parts of the hilt.
Spear


For the shaft I used 2 mm strong wire that I cut with my jewellers saw to the correct length. I looked to the other Dark Elf spears for the measurements so the weapon would not get too big. Because of the spiral form, I decided to fit the second blade as well. For that, I used thinner wire and spiralled it around the thicker one. Then I bent the
wire parallel to the first blade and cut it with some pliers diagonally to get the correct length.

I removed the part and began the modelling of the large central blade.

For all sculpting I used brown stuff, as it gets harder than green stuff and is then easier to polish. I started with a rough shape,

which I cut smoother with a sharp knife after it had solidified. Then I sculpted the whole thing cleaner. After the stuff had hardened,


First, I covered the wire with Brown stuff to have a workable base. Then I had to fix the spiral. To do this, I sculpted the spiral form given by the wire.

 |
For the third blade of the trident I once again started with a wire skeleton to give support to the modelling putty. To fix the wire I looped it around the central one. I had to make do with one loop, as very little space was left. Then I fixed the wire with brown stuff. After the wire was fixed, I bent the tip into shape as described and modelled on top of it.
Step 5: Shaft points
The shaft points I modelled freehand, which works quite good with brown stuff. I took care to make them smaller towards the end of the shaft and made them look like flesh hooks. Like the rest, they were polished smoothly.
Step 6: Shaft butt
Here the fifth edition spears inspired me. I formed two little brown stuff snakes and twisted them around the shaft. Then I pressed them on with a modelling tool. With a flat tool, I then gave them the right round- and thickness. As these parts were quite asymmetric and unclean, I had to cut and polish a lot. The rivets were added in a second working session.
 |
| Finished conversion of the Beastmaster |
Step 7: Hand
For the hand I returned to green stuff, as it works better for limbs and parts with lots of curves. Here it was important to position the thumb on the correct position. Always check with your own hand as reference. Further attention should be given to the proportions of the existing hand (if any). For these exact reasons, I had to do the hand two times, but the second time went way faster and smoother.
Step 8: Casting
I did a casting of the spear using a spin casting machine. As I ran the machine regularly these times producing my miniatures it wasn´t a big deal puting the spear into one of my master molds. The rsulting casting looked very good and allowed me to use copies of the spear later again if needed.
 |
| Casting of the Beastmasters spear |
Painting Scyla
The Scyla model was left unmodified, as I like it as it is. Good old Scyla had been catching dust for over a year now and finally she had found a worthy place. Painting Scyla Chaosspawn
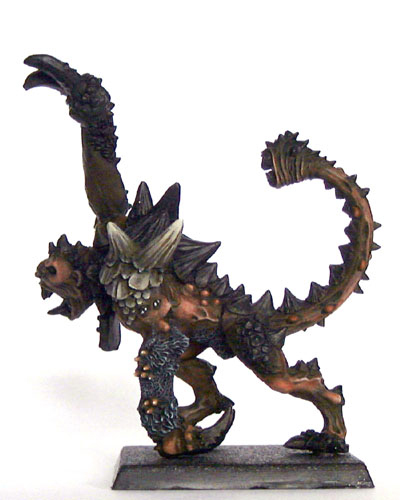 Step 1: Skin
First, I painted all the skin in a similar one to my steed of Slaanesh. On a base coat of chaos black I painted a layer of a Dark Flesh/Chaos Black mixture. This was accented with pure Dark Flesh. Further accents were accomplished by first a Dark Flesh/Dwarf Flesh mix and finally pure Dwarf Flesh. Especially the veins I accented very carefully with pure Dwarf Flesh.
Step 2: Fur
I wanted the fur in grey tones. I started with a mix of Chaos Black and Codex Grey. This would then be accented with Codex Grey and Fortress Grey. A last highlight for the tips and the top hairs was done carefully with Skull White.
Step 3: Scales, claws and horns
Here I used shades of brown. As my Scorched Brown had dried out, I used a mix of Bestial Brown and Chaos Black. I based all the parts with that. The next highlight was Bestial Brown. For the accents, I was careful to go lighter the further I came from the base, and to keep the deeper parts dark. The scales I accented towards the lower rim. I used the original mix and added gradually more Bleached Bone, adding a final accent of Skull White with a hint of Bleached Bone. The scales were framed with this mix on the lower rim.
 Step 4: Boils
The boils I had already painted with skin colours. To differentiate them a bit I highlighted them with sunburst yellow.
Step 5: Collar
I did the collar in NMM gold. For NMM gold, I use the standard Snakebite Leather. This is accented with Bubonic Brown, the final highlight is done in Bleached Bone, and the rims are done in Skull White to hint at the reflections. The sigils of Khorne is based in Red Gore and accentuated with Blood Red. Further highlights were done with different mixes of Blood Red and Bubonic Brown. The edges were done in pure Bubonic Brown.
Step 6: Faces
The final details were the gums, teeth, and eyes. The eyes got a basic Skull White and Chaos Black look. The gums got a base of Nauseating Blue. This was accented with Liche Purple and finally Warlock Purple. After the gums came the teeth, and they were done in the same way as scales, claws and horns in step 3.
Painting the Beastmaster
Step 1: Skin
I base with a dark mix of Chaos Black and Bleached Bone. The skin then gets many layers of pure
Bleached Bone. Then I shade the lower parts with different mixes of Chaos Black and Bleached Bone.
The highlight is Skull White, but better is a mix of Bleached Bone and Skull White – that prevents it from getting too light.
Step 2: Armour
For a dark silver NMM I put the highlights a little further from the edges than for normal silver NMM. The first is a mix of Chaos Black and Codex Grey. The follow-up layers are with gradually more Codex Grey in the mix. I try to avoid pure Codex Grey, as it is difficult to handle. The last highlight I did with a mix of Codex Grey and a hint of Fortress Grey. Then the edges in Skull White to represent the reflecting light.
Step 3: Fur
Here again I took a Bestial Brown and Chaos Black mix. With this I base the front and back of the fur collar. The next highlight is pure Bestial Brown, and for the accents, I use the original mix with more and more Bleached Bone added.
Step 4: The wing
Here I highlighted the black with a mix of Hawk Turquoise and Chaos Black, the second go with Hawk Turquoise and finally Hawk Turquoise/Bleached Bone. For the after-shading, again I used the original mix. The horns are done in the same way as the fur.
Step 5: Hair and hair bands
I used first a mix of Chaos Black and Codex Grey. This was then accented with first Codex Grey and later Fortress Grey. A final accent for the tips and the top hairs is done carefully in Skull White. The hair bands are based in Dark Flesh and accentuated with Blood Red
Step 6: The whip
I wanted the whip in a much lighter NMM
than the dark armour. To do this, I added a lot more Fortress Grey and
later thinned down Skull White to the highlights. In the final layer I
used pure thinned down Skull White to get a bright shimmer on the upper
side. However, I needed to constantly shade with darker tones to get a
good effect. The whip handle was done in the same tones as the wing, the
rivets
in the same NMM as the whip.
Step 7: Metal skulls
The
metal skulls I did in NMM gold. For a description of my NMM gold
technique, see “Step 5: Collar of the Scyla” painting guide.
 |
| Beastmaster half way done, missing only the spear with was painted separately. |
 |
| View on the spear and gold reflection in the blade. |
Step 8: Spear
First, I did the lower blade in NMM gold. Now it is getting a tad tricky, as the gold blade should be reflected in the centre blade. Initially, I painted the lower part of the blade in light NMM, starting dark at the point and getting lighter towards the middle. Then came the gold part, here I started dark at the end and got lighter towards the centre. Furthermore, I accented with grey towards the centre edge. After that, I painted the reflecting edge with a Skull White line. The upper side and upper spear point was done in the same light NMM as the lower part; the bright middle part is walking diagonally over the central blade and has the same angle as on the upper point. Further back is a second reflecting area that follows the same angle parallel to the first one. The small hooks are done in NMM getting lighter towards the tips. The shaft I painted in turquoise tones, using the same colours as in step 4. The golden butt cap is the already described NMM gold.
Step 9: Banners
I decided to include a few long, self-made banners. I cut them from thick paper und painted them in violets. The base is a mix of Liche Purple and Chaos Black, first accent Liche Purple, second with a Liche Purple/Tentacle Pink mix. The flow is always bottom-up, to get a colour flow of dark (bottom) to light (top). Afterwards I added a few Druchii-Runes in Skull White. I glued the completed banners to the spear shaft and had a completed beastmaster.
 |
| View on the base of Scyla |
Step 10: Bases
For the bases of both models I used lots of skeleton parts from the skeleton sprue. Added to that I had a few old skeleton minis of horses and chariots. The whole I glued to a base and sculpted it with thinned down Moltofil. With an old brush, I then washed the skeleton parts out again and brushed it to a mostly smooth surface. I fixed a little sand here and there with some glue. After everything was primed in Chaos Black I painted the lot. First only the sand with a mix of Dark Flesh and Chaos Black. For all following accents, I added more and more Bleached Bone up to pure Bleached Bone. After the sand, I did the same with the Bones, but here the final accent was a mix of Bleached Bone and Skull White. The bird sand I dry-brushed with the same colours.
Step 11: Show base
The show base is basically the same as the model bases. Only the dry grass is a special fibre from the modelling hobby, and this I glued to the base with PVA glue.
 |
| View on the bases of the miniatures and the show base |
Finally a couple of different views on this very special duell scene.


However, the real diorama aged not so well. Due to the casted spear the Beastmaster had some disbalance and the small wire bended a couple of times before it broke. Several repairs had damaged the link between miniature and the base and a lot of super glue covered the skeleton torso he stands on. Because the Beastmaster did not hold without blu tack it was always very hard to remove the figure. This was necesaary as the beastmaster had a couple of times a use in my games or in showcases. Several times I damaged the showbase when removing him for such events. This article was a great chance to dedust the duell and to repair all these damages. I took the chance to do some new pictures showing this old couple in new glory.